
For anyone that its interested this is how I did it.
I made a 12 x 12 ratio of Victoria Sponge mix :
12 oz SF flour
12oz Caster sugar
120z Butter
6 large eggs
2 tsp baking powder
2 level tsps Vanilla essence
400 ml milk or water
Grease and line 2 X 8 inch square cake tins.
Combine all the above in large mixing bowl, whisking on highest setting for 2 mins, spoon mixture equally between the 2 tins, bake bake the 2 together for 30 mins approx, (do skewer test- leave for 5 mins more if not clean)
Let cakes cool for 5 mins then turn out onto a cooling rack and leave to cool completely.
I bought 2kg, of white ready roll icing of white and dyed a big portion of it yellow,and smaller portions to match Spongebob's coloured parts , red for his tye, black for boots and belt, brown for shorts, blue for eyes etc.
It is expensive to buy all these coloured icings ready made, especially as you only need a tiny bit for some parts.I use gel colours which are very thick so you don't need a lot, just keep kneading in to the the icing until well mixed NB to get brown you will need to mix Blue, red and yellow, with more red as it will look khaki otherwise! My knowledge of mixing oil paints came in handy here!
Now sandwich the cakes together,one with jam the other with buttercream, spread a little buttercream over the cake so the icing adheres better.

Now to shaping the cakes, Sponge bob is not completely square he is wider at the top so cut the cake down at the sides to angle his body slightly, then cut out sections on the sides with a big knife so you will have a wiggly edge once you ice the cake.

Before you place the cake onto the foil board, write your message with a writing icing pen,as you won't have room to lean on once the cake is on there. Then spread a little buttercream onto the board so the cake doesn't slide.


Next roll out the yellow icing until about 6-7 mm thick, make sure its big enough to cover the sponge then gently smooth over and tuck down the edges, then smooth over with an icing smoother, cut off excess icing at the bottom.

Now use you finger or some other rounded implement to make the dents in Spongebob so he looks sponge like. Careful not to poke right through!!

The rest is self explanatory, just copy what you see, I used a picture of Spongebob from Google images to reference from. I just carefully carefully cut out the shapes with a knife, always make sure your worktop is constantly dusted with icing sugar, and don't have black icing near your white!! Keep the areas for lighter colours separate. Before applying each part to Spongebob, you will need to brush the icing with a little water each time bit by bit, so the piece you have cut out sticks.
 |
| Half way there! |

My kitchen looked like a bombsite afterwards...
 |
| Icing carnage! |
My girl had a lovely girly party, despite feeling unwell, it was at home again as it was last year, the sun shined, and we played party games, and had lots of fun finger foods.

The kids loved the crocodile cheese and pineapple holder in the centre of the table. Another idea pinched from Google images. I LOVE the Internet.
 |
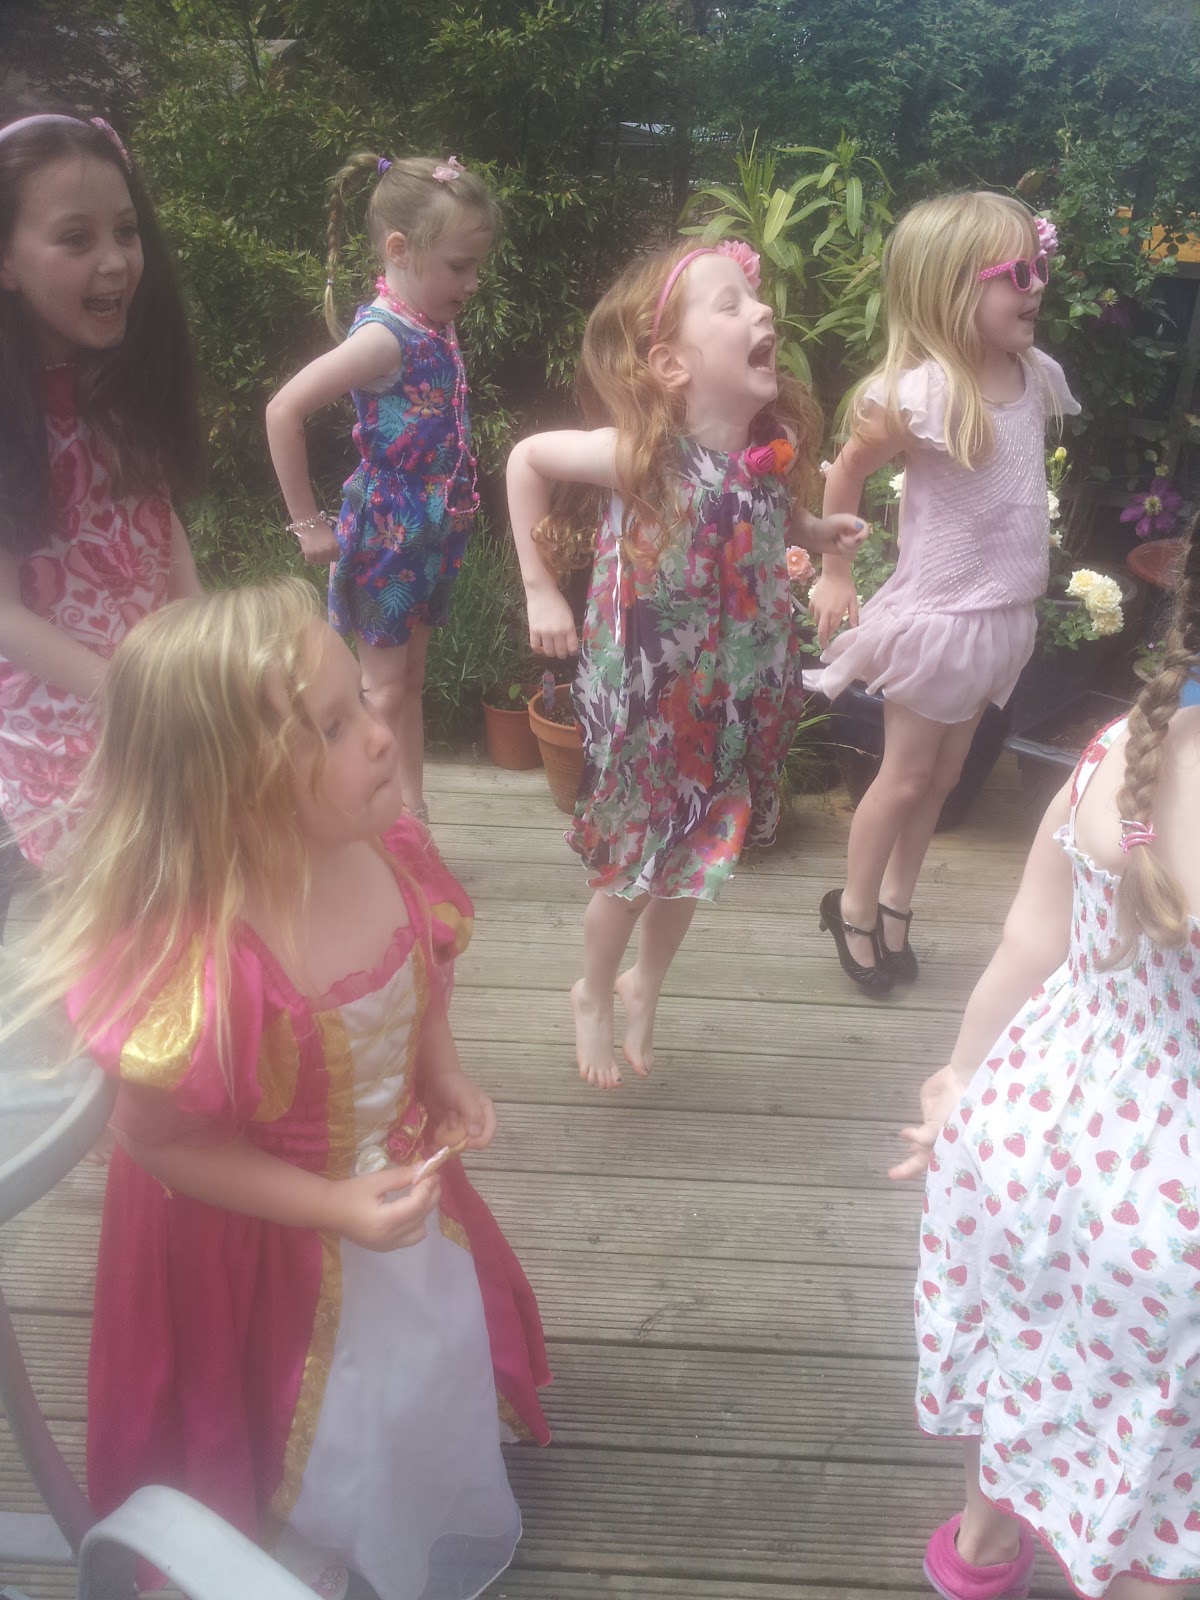
Musical statues! |
 |
| Loving her swing |
My how they grow so quickly....
 |
| Happy 5th birthday to you.... xx |